Why Your Vacuum Cleaner Suddenly Stopped Working (and How to Fix It)
2026-03-31
Keeping your home clean can reduce stress and, more importantly, lead to fewer allergies and lower pest risks. In the US, 31.8% of Americans admit they sometimes put things away to make a space look tidy without actually cleaning, which shows why vacuum cleaners play a big role in helping keep homes clean.
When your vacuum suddenly stops working, will not turn on, or starts losing suction, it can quickly disrupt your routine. The good news is that many common issues can be fixed without much trouble. This guide walks you through a quick checklist first, then deeper fixes to help you get your vacuum working again.
Why My Vacuum Cleaner Stopped Working: Most Common Problems
Your vacuum may stop working because of overheating, blocked airflow, a full dustbin or filter, or a broken internal part. In some cases, the issue comes from a faulty switch, battery trouble, a charging problem, or even a software glitch in newer models.
Here are the most common reasons a vacuum stops working:
- Overheating: heavy use, blocked airflow, or a motor protection shutoff can force the vacuum to stop suddenly.
- Power supply issues: cord faults, outlet problems, wiring issues, or a battery not holding a charge can interrupt power.
- Faulty on/off switch: depending on the type of vacuum, this can explain why your vacuum cleaner won't turn on.
- Clogged filters or hoses: blocked airflow can reduce the suction power of your vacuum cleaner.
- Full dustbin or bag: a full container can decrease your vacuum's suction and affect overall performance.
- Roller brush obstruction: debris buildup can mean the brush roll on your vacuum cleaner is not spinning.
- Motor problems: wear, internal damage, or long-term strain can stop the vacuum from working properly.
- Software or firmware glitches: newer cordless or smart vacuum models may stop working due to system errors.
If you vacuum large spaces, high-traffic areas, or thick carpets, your machine may wear down faster. Poor maintenance can also make these problems more likely over time.
How to Fix a Vacuum That Is Not Working
To fix a vacuum that is not working, you can start with an inspection: confirm it has power, then check whether the dustbin or bag is full. After that, inspect filters, airflow paths, and the brush roll. Many vacuum problems come from simple blockages or maintenance issues, while more serious electrical or motor faults may need professional repair.
These steps cover the main troubleshooting checks to help you find the cause quickly.
Step 1: Check power
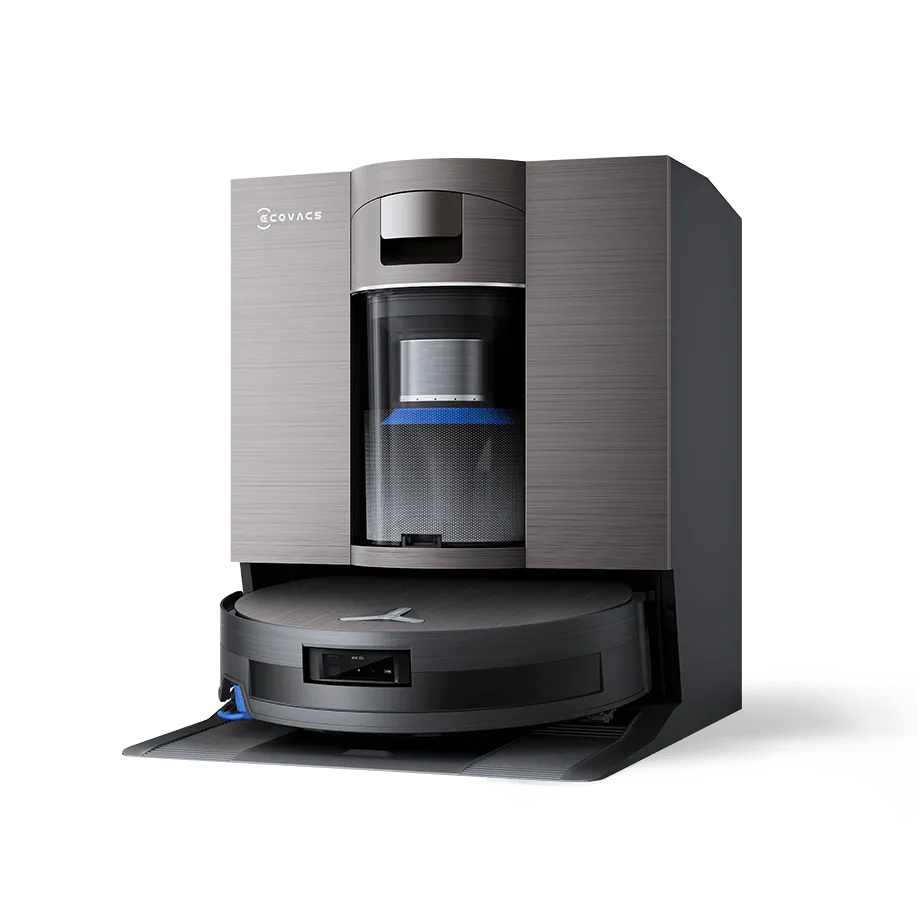
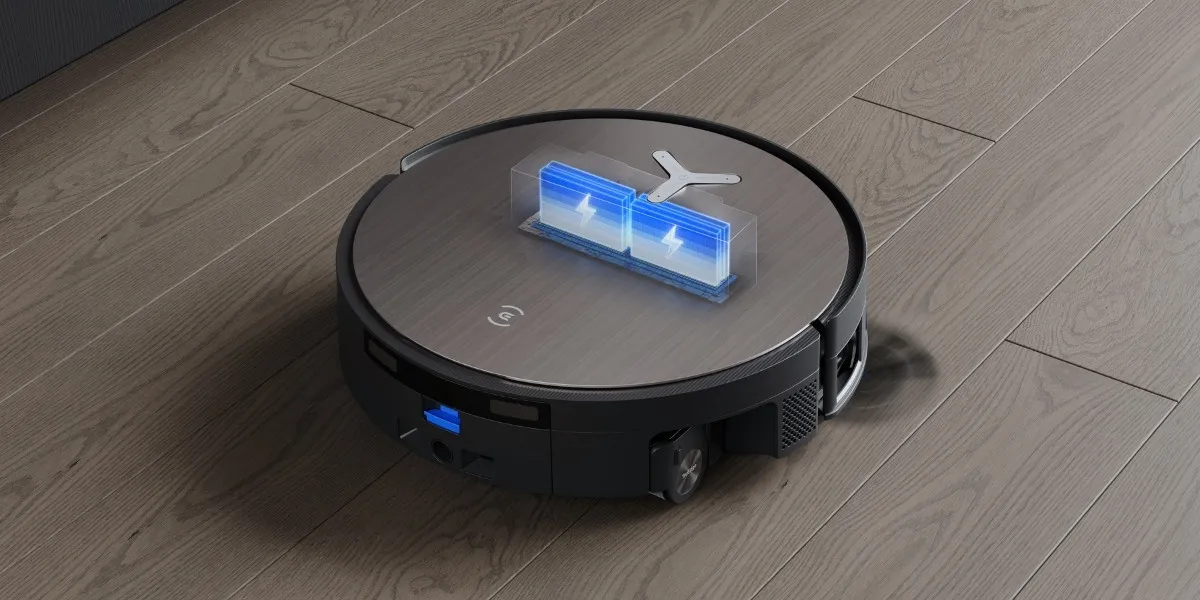
Make sure the vacuum is plugged into a working outlet and that the cord is secure and undamaged. If it is cordless, check whether the battery is charged and the charger is working properly. If you are wondering why your robot vacuum doesn't charge, the issue may come from the battery, charging cable, or dock connection.
Step 2: Reset after overheating
If the vacuum stopped during use, it may have shut off as a safety measure due to vacuum overheating. Let it cool down fully before turning it back on. Then check the filters, hose, and airflow path for blockages. Restricted airflow can trap heat inside the machine and trigger another sudden shutdown.
Step 3: Empty the bin/bag and inspect seals
A full dustbin or bag can reduce airflow and make the vacuum work harder than it should. Empty the container, then check that all seals are sitting properly after you close it again.
This also matters for self-empty robot vacuums, since poor sealing can still affect performance. If needed, empty your robot vacuum before the bin reaches capacity.
Step 4: Clean/replace filters
Dirty filters can restrict airflow and reduce performance, so it helps to clean the vacuum cleaner’s filters regularly. If the filters are washable, let them dry fully before putting them back, which can take up to 24 hours. Damp filters can make performance worse and may even trigger a shutdown in some models.
Step 5: Clear the hose, wand, and floor head
Check the hose, wand, and floor head for hair, dust buildup, or small objects that may be blocking airflow. Even a partial blockage can lower suction and cause the vacuum to struggle.
On DEEBOT models, users receive a notification when the filters need replacement, which can also help you keep an eye on airflow-related issues.
Step 6: Clean the brush roll and inspect the belt
Remove hair from the vacuum roller, since buildup can stop it from spinning properly. If your vacuum uses a belt-driven brush, inspect the belt for wear, looseness, or breakage. A stuck brush roll or damaged belt can reduce pickup rates and make the vacuum seem weaker, even when suction is still present.
Step 7: Check for suction leaks
If the vacuum still runs but feels weak, inspect it for suction leaks. Look for cracks in the hose, loose pipe connections, or worn seals and gaskets around the bin or floor head. Air escaping through small gaps can reduce suction noticeably and make the vacuum less effective even without a clog.
How to Maintain Your Vacuum to Prevent Future Problems?
Regular maintenance can help your vacuum last longer and reduce the risk of sudden issues. Emptying the bin, cleaning filters, checking parts for wear, and storing the machine properly all support better airflow, stronger suction, and smoother operation over time.
Here are some simple habits that can make a noticeable difference:
- Empty the dust cup or replace the bag after each use to prevent strain on the motor and loss of suction.
- Clean the vacuum cleaner’s filters regularly according to the manufacturer’s instructions to maintain airflow and efficiency.
- Use a brush attachment to remove hair, dust, and debris buildup from inside the vacuum.
- Wipe the exterior with a damp cloth to keep the vacuum clean.
- Check the hose, wand, and other attachments, and replace any worn or damaged parts.
- Clean the brush roll and remove tangled hair or debris to maintain optimal suction.
- Replace the vacuum belt if it becomes stretched or worn, since a faulty belt can stop the brush roll from spinning.
- Store your vacuum cleaner in a well-ventilated area if you live in a humid region like Florida and Texas, since moisture can damage internal components.
- In colder regions, keep the vacuum in a heated spot so the hose and cord do not become brittle.
When to Call a Professional?
While there are plenty of simple DIY fixes you can try, some vacuum problems are more serious and should be handled by a professional.
If you are dealing with electrical issues, motor malfunctions and overheating, or a failed circuit board, you may not have the right tools or expertise to fix them safely.
Stop immediately if your vacuum cleaner smells burnt or starts making a loud new noise. These can point to a belt jam or motor strain, and continuing to use the vacuum could make the problem worse.
In these situations, it is best to contact a reputable repair service in your area.
Check with the manufacturer or retailer where you bought the vacuum, as they may have recommended repair centers or their own service department. For DEEBOT robotic vacuums, you can visit ECOVACS support or refer to the manuals for troubleshooting guidance before booking a repair.
You can also search online for reputable vacuum repair shops in your state . Look for repair centers with positive reviews on Yelp, Google, or the Better Business Bureau.
FAQ
How often should I replace the filters in my vacuum cleaner?
Most vacuum manufacturers recommend replacing the filters every 6 to 12 months, depending on usage and the specific model. However, it is important to check when to change vacuum filters, for example, as soon as they appear dirty or clogged, since this can make the vacuum less efficient.
How do you know if your vacuum motor is burnt out?
You’ll know if your vacuum’s motor is burnt out if you’re experiencing a complete loss of suction power, unusual noises, or the motor failing to start. You may also notice a burning smell coming from the vacuum. In this case, it’s best to stop using the vacuum immediately and have it inspected by a professional.
Why does my robot vacuum shut off right after it leaves the dock?
If your robot vacuum keeps stopping right after it leaves the dock, the cause may be a low battery, dirty charging contacts, a wheel obstruction, a sensor issue, or a software glitch. Check for debris, clean the contacts, and confirm the battery is charging properly before trying another cleaning cycle.
Do I need gloves or eye protection to check a vacuum that stopped working?
For basic checks, gloves and eye protection are not always required, but they are a good idea if you are dealing with dust buildup, broken parts, or anything that smells burnt. Unplug the vacuum to let it cool down, and do not open any electrical components unless you are trained.
Related Products