How to Clean a Vacuum Brush for Better Performance?
2026-01-12

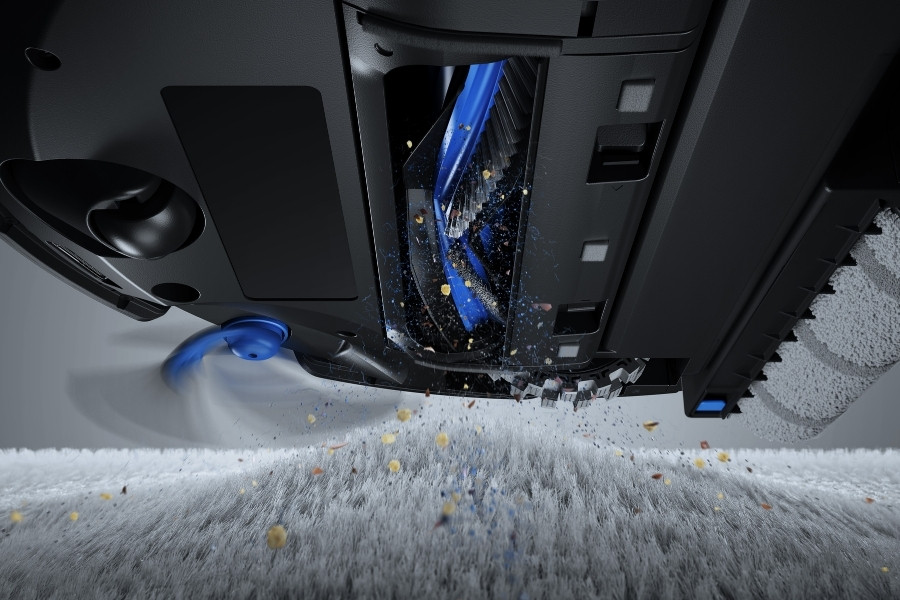
In a vacuum cleaner, the brush is the main point of contact with the floor and is responsible for lifting dirt and debris from surfaces. As it rotates, the bristles loosen particles so suction can extract them more easily, particularly from carpets and rugs.
However, hair and debris can quickly build up around the brush, strain the motor, and cause unnecessary noise or odors. Hence, it’s important to understand why cleaning your vacuum brush matters, how to do it safely step by step, and what mistakes to avoid to keep your vacuum running at its best.
Why It’s Important to Clean a Vacuum Brush?
Cleaning a brush in a robot vacuum cleaner is essential to prevent hair and debris from tangling around the brush roll and limiting its rotation, which helps maintain strong cleaning performance. Keeping the brush clean also puts less strain on the motor and helps extend the robot’s lifespan.
If you neglect cleaning the vacuum brush, the potential consequences include:
- Reduced cleaning efficiency: A clogged brush cannot rotate freely and may fail to pick up dirt and debris on carpets and hard floors, even when suction power is set high.
- Extra strain on the motor: Built-up hair and dirt increase resistance, forcing the motor to work harder and increasing the risk of overheating or long-term damage.
- Unusual noise and smells: Restricted brush movement can cause louder operation and burnt odors due to friction, overheating components, or trapped debris.
- Faster wear and breakdowns: Ongoing buildup accelerates wear on parts such as bearings and bristles, increasing the likelihood of sudden failures and costly repairs over time.
How To Clean A Vacuum Brush Step-by-Step?
When it’s time to clean a vacuum brush, start by powering off the vacuum and safely removing the brushes. Use proper tools to carefully cut away tangled hair and clear debris from the ends. If needed, rinse and dry the brush thoroughly before reassembling it. Finally, conduct a test to confirm the brushes are running smoothly.
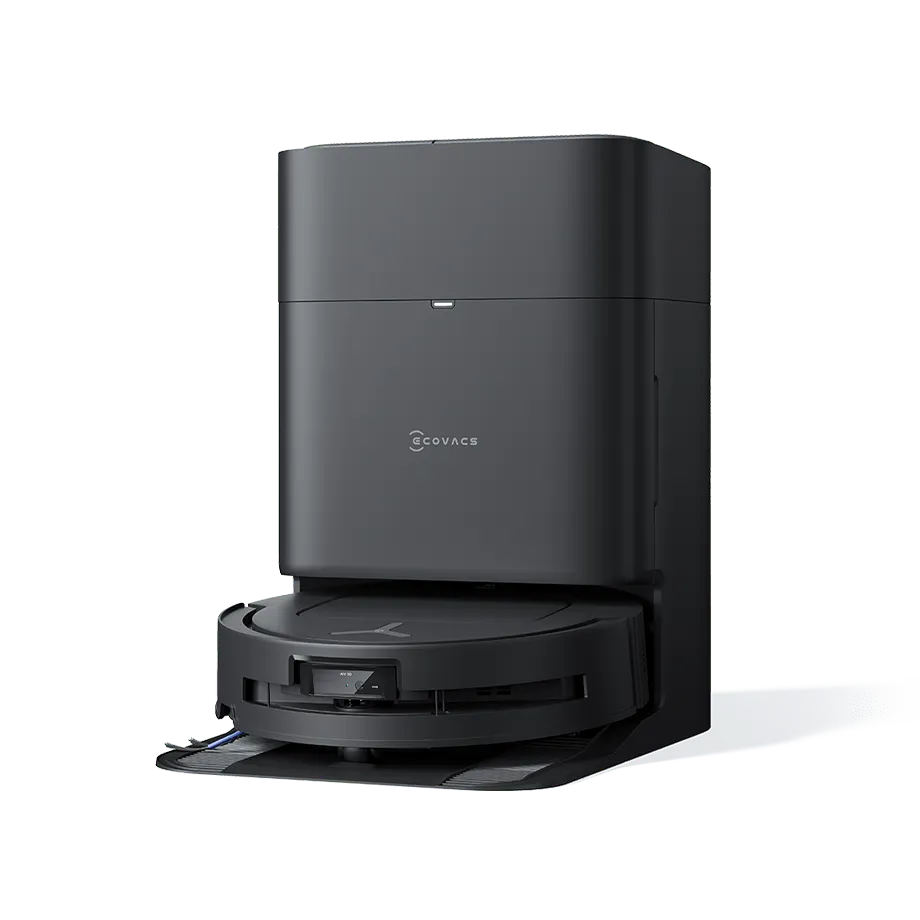
The following step-by-step guide will use DEEBOT X11 OmniCyclone as an example.
Step 1: Preparation
Switch the robot vacuum off and gather basic tools such as scissors and a clean cloth, ideally microfiber, similar to those used to clean the sensors. DEEBOT users can find a small cleaning tool underneath the robot at the front after lifting the cover. Then, empty the dirty water tank and drip tray before flipping the device.
Step 2: Remove the Brush Rolls
Flip the robot and open the brush cover according to the manufacturer’s instructions. Pro tips: take a picture to remember the brush orientation and belt position. Gently lift out the brush roll for the next step.
Step 3: Cut and Remove Tangled Hair
Use the dedicated cleaning tool or scissors to cut hair and threads along the grooves of the brush roll. Pull the loosened debris away carefully, working from end to end and remove hair wrapped tightly around the brush roller.
Step 4: Clean End Caps and Bearings
Check both ends of the brush roll where dust and hair tend to hide. Wipe the end caps and bearings to clear any trapped debris that is blocking the rotation and dragging down the cleaning performance.
Step 5: Deep Clean the Main Brush
If the brush is heavily soiled or feels greasy, rinse it briefly under water or wipe it with a damp cloth. Do not soak unless specified by the manufacturer. Air-dry the brush completely before reinstalling to prevent moisture damage.
Step 6: Clean the Side Brush
If the model has a side brush, remove it by unscrewing it or gently pulling it off, depending on the design. Clear wrapped hair from the bristles with small tools, then wipe the brush with a dry cloth before putting it back.
Step 7: Reassemble and Test
When it’s ready, reinstall the main brush in the correct orientation, secure the cover, and reattach the side brush. Spin the brush by hand to confirm smooth movement before powering it on.
What to Avoid When Cleaning a Vacuum Brush?
Cleaning a vacuum cleaner’s brush incorrectly can damage components and potentially lead to costly robot vacuum repairs.
The most common mistakes to avoid include:
- Do not clean while plugged in: Cleaning a connected device risks electric shock and accidental startup.
- Avoid soaking brush rolls: Soaking can weaken adhesives, damage bearings, and trap moisture inside the brush.
- Avoid harsh chemicals: Strong cleaners like bleach or vinegar can degrade bristles and coatings or leave harmful residues.
- Avoid sharp tools: Knives or metal tools can cut bristles or scratch the housing and bearings.
- Do not reassemble while damp: Moisture can cause mold growth, unpleasant odors, corrosion, or electrical issues once the vacuum is back in use.
How Often To Clean A Vacuum Brush?
In the US, cleaning the robot vacuum’s main brush every week and the side brush every 2 weeks is sufficient for most homes. More frequent cleaning may be needed if you live with pets, have long hair, carpets, or experience seasonal changes. For example, in cities like Austin, heavy spring pollen can quickly wrap around brush rolls and need extra cleaning.
Quick checks of the following signs between robot vacuum maintenance help prevent performance drops.
- Brush fails to rotate: Brush stops spinning during cleaning cycles.
- Reduced pickup: Robot vacuum leaves visible debris behind on carpets or hard floors.
- Strange noises or smells: Grinding sounds or burnt smells from the vacuum indicate friction or trapped debris.
Just as you should clean the filter and replace it from time to time, it is recommended to replace the main brush roller every 6 to 12 months, and the side brush every 3 to 6 months.
Related Products