Why Your Robot Vacuum Mop Is Not Mapping and What To Do?
2026-01-21

To create a sense of spaciousness and improve natural light flow, many homes in Australia now feature open living rooms, combined kitchen and dining spaces, and wide hallways. While these layouts look great, they lack distinct and consistent landmarks for robot vacuum mapping.
When your robot is not mapping, cleaning becomes frustrating. Luckily, most common mapping problems usually require only a few simple, straightforward fixes.
Why Your Robot Vacuum Is Not Mapping Properly?
Your robot vacuum with mapping may fail to create or save an accurate map when cleaning routes are blocked by closed doors or obstacles, sensors are affected by strong lighting or dirt, or the robot is lifted during operation. Other common reasons include low battery, poor dock placement and outdated firmware.
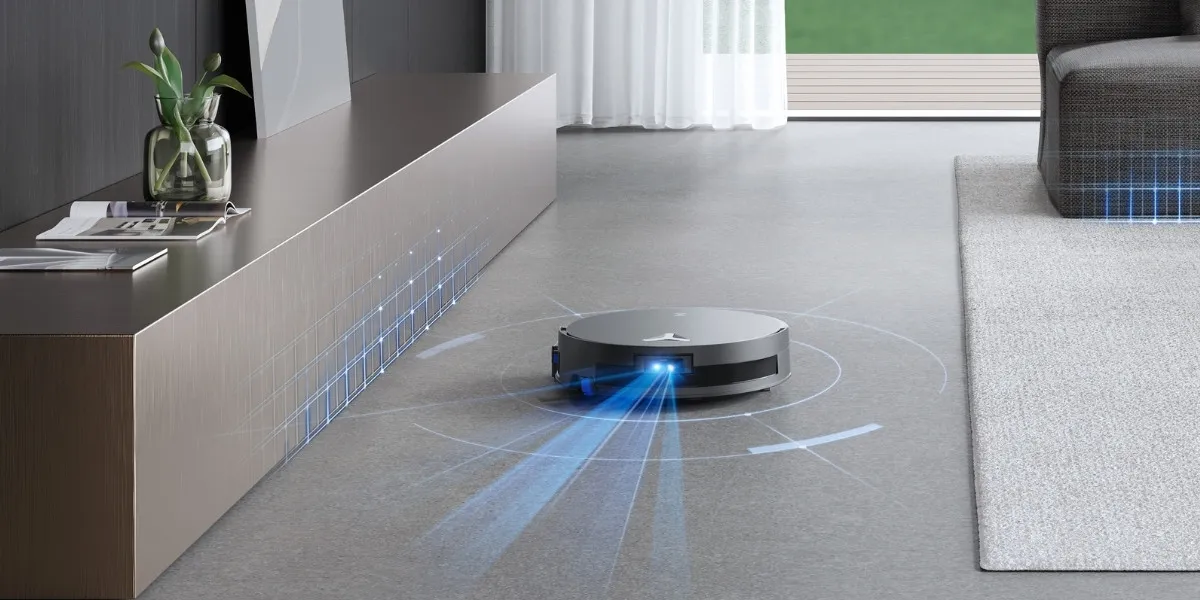
Today, robot vacuums and mops rely on advanced mapping systems such as LiDAR and vSLAM to build a virtual floor plan of your home to guide the robot.
However, here are the common reasons it is not mapping successfully:
Getting Stuck
Thick rugs and loose cables can block movement, while couches that are too low can get the smart vacuum stuck and create unusual noise during the initial scan. If the docking route is obstructed or certain areas are unreachable, the robot may generate incomplete or inaccurate maps, causing it to keep going in circles.
Moving or Lifting the Robot While Mapping
Lifting or relocating the robot during a mapping run can disrupt its internal positioning system. The current map may be lost and force a new mapping cycle.
Incorrect Station Placement
The robot may misread its starting position when the charging dock is angled, placed too close to furniture, or moved after setup, making it difficult to map or dock consistently.
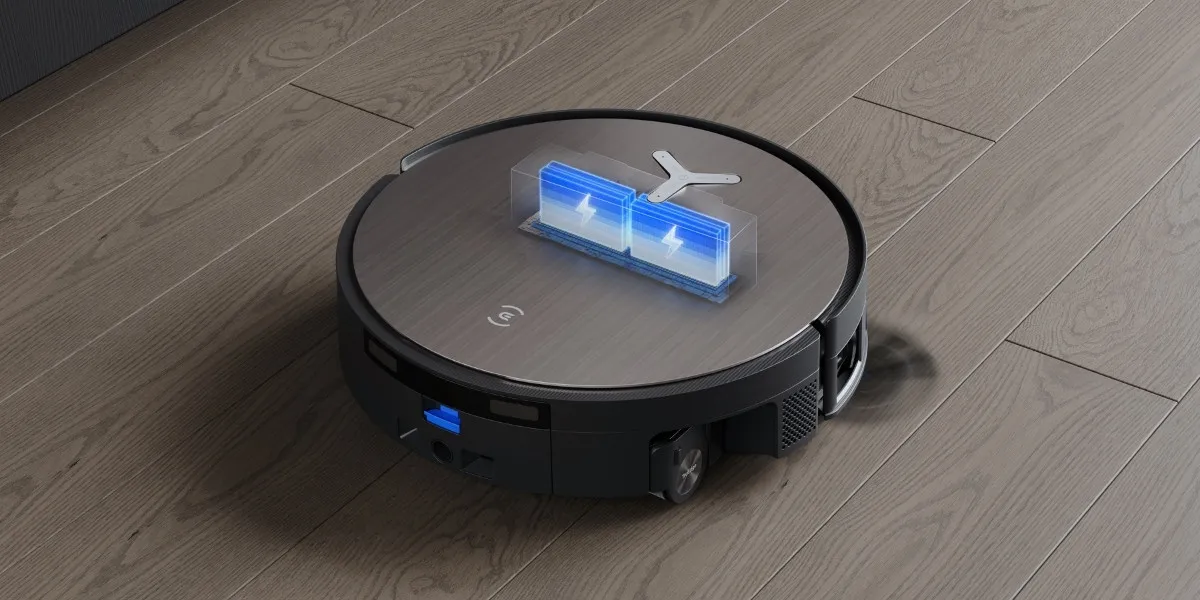
Low Battery
If the battery runs low before the robot completes the session, the mapping cycle may fail to save smoothly. As a result, the vacuum may lose its position and fail to dock safely. Check why your robot vacuum is not charging properly.
Dirty Sensors and Wheels
When sensors are covered in dust and debris, the robot may lose navigation accuracy for detecting cords or cliffs, increasing the risk of falling down stairs. Wheels can also slip on thresholds, affecting distance readings and map data.
External Interference
Bright sunlight, mirrors, and reflective surfaces can confuse sensors or cameras when calculating distances. When cleaning polished tiles or mopping waxed hardwood floors, the wheel may also lose traction and scratch the floors, affecting movement accuracy.
Software or App Glitches
Outdated firmware may prevent the machine from receiving updates that improve navigation stability and fix map-saving errors.
How To Fix Robot Vacuum Mapping Problems Step-by-Step?
Robot vacuum mapping problems usually require straightforward fixes, for example, restoring clear sensor input, creating safe docking conditions, and resetting the mapping process. By identifying the root cause, you can often resolve the issue yourself; if the problem persists, consider contacting customer service for a professional checkup.
|
Problem |
Potential Reason |
Solution |
|
Inaccurate Map |
Robot stuck during mapping |
Clear the environment and remap |
|
Moving or lifting the robot while mapping |
Delete the old map and remap |
|
|
Auto-Docking Failure |
Incorrect dock placement |
Check dock placement |
|
Low battery |
Ensure auto-recharge is turned on |
|
|
Unable to Load Saved Map |
Environmental interference |
Ensure the environment is safe for the robot |
|
Dirty sensors or wheels |
Clean the robot thoroughly |
|
|
App Malfunction |
Software or app glitches |
Keep firmware and app updated |
You can also perform the following troubleshooting steps:
Step 1: Clean Sensors and Wheels
Turn the smart vacuum off and wipe the navigation module, edge sensor and cameras with a clean, dry cloth, never a wet one. Then, use a soft brush to clear any debris off the wheels. It is recommended to include this step in your regular robot vacuum maintenance procedure.
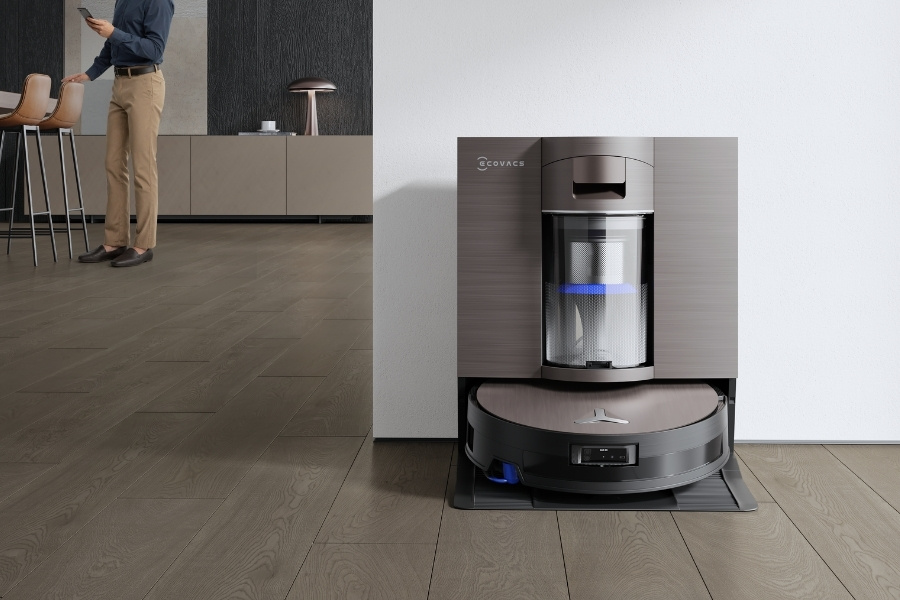
Step 2: Check Dock Placement
Place the charging station flat against a straight wall, and keep reflective surfaces covered near the dock. For DEEBOT X11 OmniCyclone, leave about 0.05m of space on both sides and at least 0.8m in front.
Step 3: Clear the Surroundings
Keep pets and people away while the robot completes its mapping run, and get loose cables and sharp objects off the floor. Open doors to all rooms you want mapped and block the robot vacuum from entering hazardous areas.
Step 4: Restart the Robot and App
Next, restart the robot, reopen the app and reconnect the device to set it up properly. If the map appears distorted, try the map restore option. If recovery does not work, delete the map and start a new mapping cycle.
Step 5: Update Firmware and App
After restarting, install the latest versions to access navigation improvements and bug fixes. Keeping software up to date helps reduce map loss and errors.
Step 6: Delete Old Map and Remap
If mapping problems continue, clear the existing map in the app. Then start a fresh mapping run from the charging dock, and ensure the robot vacuum completes the full cycle without interruptions.
Step 7: Factory Reset
In case all other solutions fail, consider a factory reset to remove saved maps and settings. DEEBOT users can press the reset button under the top cover for five seconds to restore default settings. Alternatively, contact customer service for advice on how to repair the robot vacuum.
Related Products